Install Dropbox in Ubuntu 10.10
Dropbox is a one among the best online file syncing tool available out there. And unlike Ubuntu One, my other favorite file syncing tool, Dropbox is cross platform as well. So here is how you install Dropbox in Ubuntu 10.04 "Lucid Lynx" and Ubuntu 10.10 "Maverick Meerkat".
How to Install Dropbox in Ubuntu Lucid, Maverick
How to Install Dropbox in Ubuntu Lucid, Maverick
- Download Dropbox Nautilus client first. Both 32bit and 64bit versions of the DEB file are available. Download Dropbox.
- Double-click on the downloaded file to install it. Remember, while you install Dropbox in your Ubuntu, automatically a new Dropbox repo is added to your sources.list. That will come in handy for future Dropbox updates.
- As you can see, it shows "lucid" instead of "maverick"(since I am using ubuntu 10.10 beta). So I am not sure if the updates are going to work in Ubuntu 10.10 with this 'Lucid' Dropbox repo. But the Dropbox client is definitely working fine in my Ubuntu 10.10 beta.
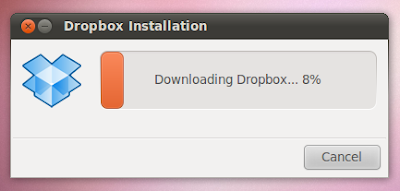
- You must be prompted with an option to restart Nautilus by now. Restart Nautilus and then launch Dropbox. Applications - Internet - Dropbox. And you will be asked to download a 'proprietary daemon'. See screenshot.
- Click OK to download Dropbox daemon.
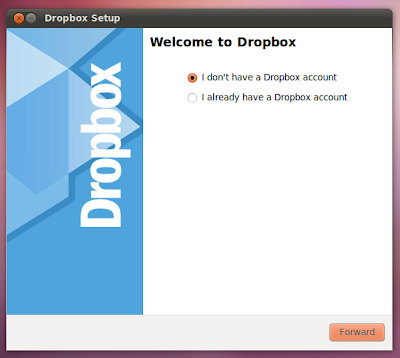
- After downloading is done, you will be prompted with an option to 'sign up with Dropbox'.
- If you haven't signed up with Dropbox yet and if you are interested in an offer for 250MB of free extra storage from Dropbox, you may visit the 'PS' section below post. Otherwise, just go through the steps by clicking 'Forward'.
- After finishing the installation process, you will notice a new Dropbox icon on your top panel. You can use it as your launchpad for all Dropbox related needs.
- Done. Though Dropbox is an awesome file syncing tool, I will never recommend syncing your very personal stuff in some server cloud. Otherwise, it's just cool.
Labels:
applications
Fix! Can’t Play Full-screen YouTube Video In Ubuntu Maverick 10.10
If you installed Ubuntu Maverick on a old computer with Intel graphics chipset, you will find that you won’t be able to watch YouTube video in full screen, regardless which browser you are using. Apparently, the problem lies with the embedded Flash player conflicts with the hardware acceleration.
For those who are having this problem, here’s the fix:
1. Disable hardware acceleration
1. Open your browser and go to YouTube.com. Start playing your video.
2. Right click on the video and click Settings.

3. On the flash popup, uncheck “Enable Hardware Acceleration”. Click Close.

Restart your browser and play the video in full screen mode.
Overriding GPU validation
If the above trick does not work, here’s what you can do:
Open a terminal and type the following command:
sudo mkdir /etc/adobe
echo "OverrideGPUValidation=true" >~/mms.cfg
sudo mv ~/mms.cfg /etc/adobe/
Start your browser and play the video in full screen. It should work now.
Other options
If you are using Firefox, you can install the FlashVideoReplacer extension. It replaces the flash player with movie player and is able to play the video in full screen and in HD quality.
via Ubuntu Forum
Labels:
Guide
Install Synapse in Ubuntu 10.10
It’s finally arrived. After weeks of leaking screenshots and juicy tidbits on a ‘mystery new launcher’ we can reveal what it is.
Called Synapse, the launcher is light, fast, zeitgeist powered and can do some incredible things thanks to tight Zeitgeist integration.
Why Synapse?
The idea for Synapse was born from a merging of ‘Sezen’ – which allowed a way to search Zeitgeist log conveniently from your panel – and the more familiar GNOME Do. A visually slick n’ quick way to not only launch apps but also give an easy way to thumb through your Zeitgeist log.
If we were to slap a really 90′s style TV Commercial slogan on Synpase it’d be: “Find anything. Fast.”
What does Synapse do?
I’ll let Synapse developer mhr3 explain: -
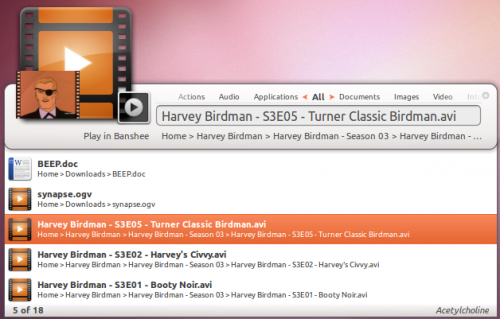
“It well… searches stuff… If you ever used Gnome Do / Quicksilver / Gnome Launch Box, you’ll feel right at home with Synapse, if not, the only thing you need to do is run Synapse (or press Ctrl+Space to summon it), type what you’re looking for, and Synapse will present you a list of items that match your query.Once you found the item you were looking for, you can perform an action on it (and these are defined by the plugins you’re using). If you don’t like the default action, just press Tab and search appropriate action.
And besides this primary use-case, you can also browse recent items which were logged by Zeitgeist, in case you close a document by mistake or just want to hear again the music track that played a few minutes ago.”
Features
The default set of plugins shipped with Synapse are as follows: -
- Applications – searches your desktop files
- Banshee – allows you to play/enqueue music files in Banshee
- Commands – runs any command (ie. “sudo apt-get update”)
- Devhelp – search documentation using Devhelp
- Dictionary – find definitions of words
- Directory search – allows opening of commonly used directories
- Gnome session – log out, shut down, restart
- Hybrid search – complete Zeitgeist results by searching for similar files
- Rhytmbox – play/enqueue music files in Rhythmbox
- UPower – suspend & hibernate your computer
- Zeitgeist – search anything logged by Zeitgeist
But thanks to the Zeitgeist integration pretty much any application can integrate with Synapse simply by integrating with Zeitgeist.
Download
Static screenshots don’t do Synapse justice, as the speed and lovely animations can only be witnessed in true fluid motion.
So why wait? Try it out right now.
- sudo add-apt-repository ppa:synapse-core/ppa
- sudo apt-get update && sudo apt-get install synapse
Once installed launch it from Applications > Accessories > Synapse
Usage
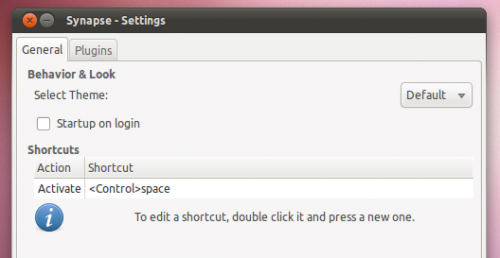
Just like GNOME Do and similar launchers Synapse is ‘called’ using the keyboard combination Ctrl + Space. If you have a different shortcut hardwired into your actual synapses you can change it to any combination you like via the settings menu.
Settings
As well as being the place to customize the keyboard combination for calling the launcher the settings menu also offers up a few extra choices such as whether it should start on login and what theme you’d prefer to use.
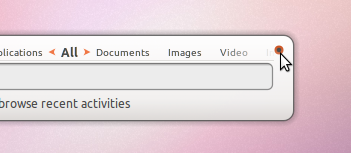
Can’t find the settings menu? Just hit the ‘pip’ on the upper-right hand side of the launcher.
Themes
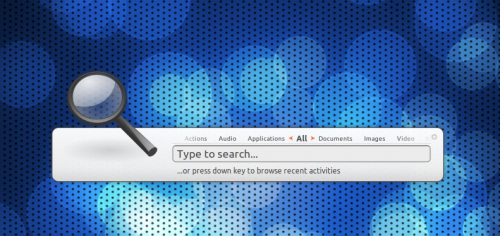
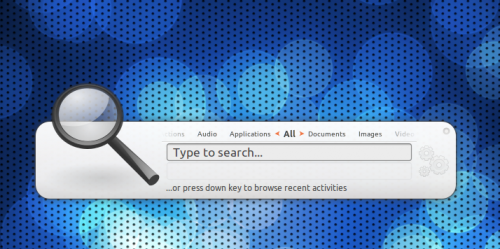
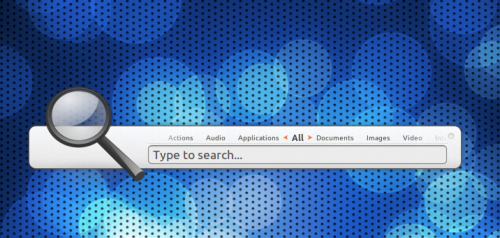
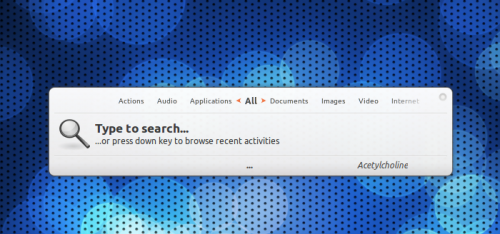
There are four themes included by default.
Default
Which you use is entirely down to you: they all have plus points – Virgillio is the least ‘flashy’ and ‘mini’ is the most ‘bar’ like and default the least widest.
Labels:
applications
Install Google Earth 6 In Ubuntu / Linux [With Fixes]
For Ubuntu
1) Before proceeding, make sure you have the Multiverse repository added.
sudo apt-get install lsb-core2) Install Google Earth package which will automatically create a Google Earth .deb32bit:
sudo apt-get install googleearth-packagecd && make-googleearth-package --force64bit:sudo apt-get install googleearth-package ia32-libscd && make-googleearth-package --force
Labels:
applications
Subscribe to:
Comments (Atom)


