How to Install Dropbox in Ubuntu Lucid, Maverick
- Download Dropbox Nautilus client first. Both 32bit and 64bit versions of the DEB file are available. Download Dropbox.
- Double-click on the downloaded file to install it. Remember, while you install Dropbox in your Ubuntu, automatically a new Dropbox repo is added to your sources.list. That will come in handy for future Dropbox updates.
- As you can see, it shows "lucid" instead of "maverick"(since I am using ubuntu 10.10 beta). So I am not sure if the updates are going to work in Ubuntu 10.10 with this 'Lucid' Dropbox repo. But the Dropbox client is definitely working fine in my Ubuntu 10.10 beta.
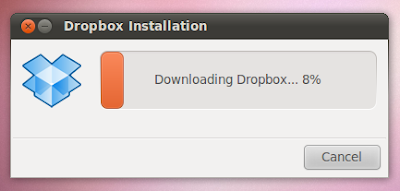
- You must be prompted with an option to restart Nautilus by now. Restart Nautilus and then launch Dropbox. Applications - Internet - Dropbox. And you will be asked to download a 'proprietary daemon'. See screenshot.
- Click OK to download Dropbox daemon.
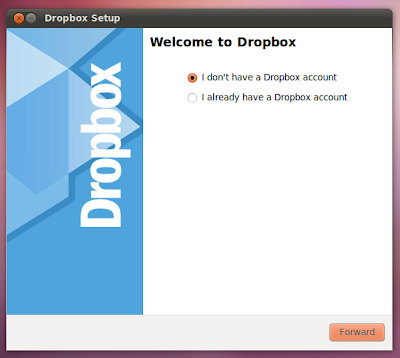
- After downloading is done, you will be prompted with an option to 'sign up with Dropbox'.
- If you haven't signed up with Dropbox yet and if you are interested in an offer for 250MB of free extra storage from Dropbox, you may visit the 'PS' section below post. Otherwise, just go through the steps by clicking 'Forward'.
- After finishing the installation process, you will notice a new Dropbox icon on your top panel. You can use it as your launchpad for all Dropbox related needs.
- Done. Though Dropbox is an awesome file syncing tool, I will never recommend syncing your very personal stuff in some server cloud. Otherwise, it's just cool.


No comments:
Post a Comment