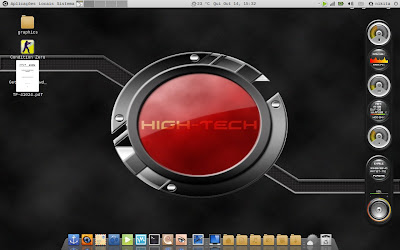
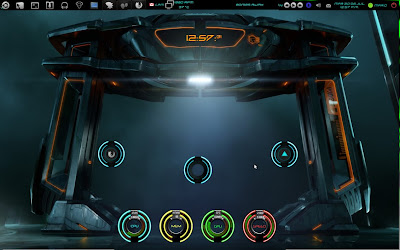
Conky is a free, light-weight system monitor for X, that displays any information on your desktop. You've seen it in many screenshots under various forms; take a look at these screenshots if you don't know what Conky is.
A while back we told you about a really easy way to configure Conky using a GUI called ConkyWizard - which is very nice, but it doesn't come with plugins and too many options. Conky Colors on the other hand doesn't come with a GUI but is just as easy to set up (from the command line) and it comes with A LOT of options and scripts (from Gmail to Rhythmbox, weather and more) so you can create an amazing looking Conky in a matter of seconds (don't let our long guide fool you - you just have to install a few packages and run Conky Colors). You can view a list of options supported by Conky Colors, here.
How to set up and use Conky Colors in Ubuntu
1)
For Ubuntu 10.04 or older only: Add the Conky PPA
sudo add-apt-repository ppa:norsetto/ppa
sudo apt-get update
For any Ubuntu Version
sudo apt-get install conky-all
2. Install other required packages
You'll also need the following packages:
sudo apt-get install python-statgrab ttf-droid curl
Optional: if you want Conky to display your CPU / motherboard temperatures and hard disk, also install lm-sensors and hddtemp:
sudo apt-get install lm-sensors hddtemp
Now you need to configure lm-sensors. Run this in a terminal:
sudo sensors-detect
Then enter "y" for everything and run this to start the sensors:
sudo /etc/init.d/module-init-tools start
For hddtemp to work in Ubuntu 10.04, you need to run this command:
sudo chmod u+s /usr/sbin/hddtemp
And then reboot.
3. Download Conky Colors
4. Configure Conky Colors
a) Extract the downloaded archive (from step 3), use a terminal to navigate to the folder where you extracted it and run:
make
b) Now to see all the available options, use the following command:
./conky-colors --help
Then to set up everything, simply run "./conky-colors" followed by the options you want. Here is an example:
./conky-colors --lang=english --theme=ambiance --cpu=2 --cputemp --swap --updates --hdtemp1=sda --proc=3 --clock=modern --nvidia --calendar --m --network --rhythmbox=case --ubuntu
I used the command above to get Conky the way it looks in the screenshot in the beginning of the post.
There are many options available such as themes, Gmail, Rhythmbox (or other music players) plugins, network info, hard drive temperatures, available / used disk space, display images, weather, todo lists, battery status and lots more - like I said, to see them all, use "./conky-colors --help".
c) Once you are done, run the following command:
make install
d) Try it out. Run conky by pressing Alt + F2 and then type "conky" or type "conky" into a terminal. To close conky, if you run it from a terminal press Ctrl + C or type "killall conky".
4. Put Conky in your Startup applications
To run Conky when your computer starts, go to System > Preferences > Startup Applications, add a new startup application and under "Name" enter "conky" and under command, enter "~/.conkycolors/bin/conkyStart"


